
Cherry Breakfast Bars – Sweet, Buttery & Perfect for Mornings
Can we take a moment to appreciate how comforting and satisfying these Cherry Breakfast Bars are?
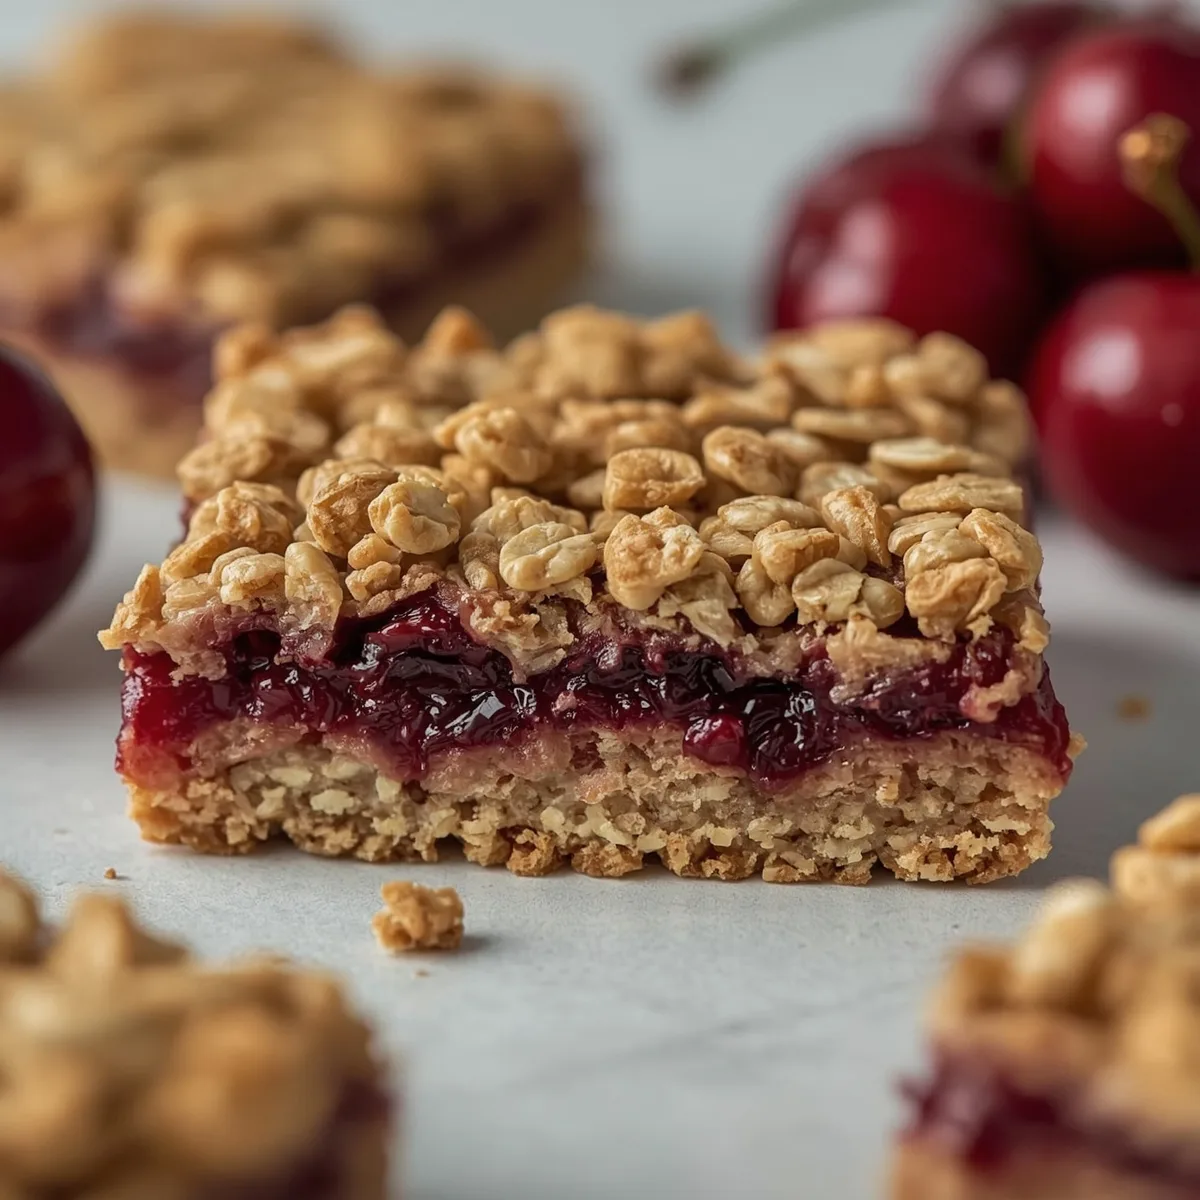
They’re the kind of recipe that makes mornings feel a little more special. A buttery oat crust doubles as both the base and the crumbly topping, while the center is packed with juicy cherries that bake into a naturally sweet, vibrant filling.
The magic of these bars comes from their texture. The bottom layer is slightly crisp and sturdy, the middle is soft and fruity, and the top turns golden and crumbly in the oven. Each bite delivers a balance of sweetness, tart cherry flavor, and warm oat goodness.
Whether you enjoy them with your morning coffee, pack them for a midday snack, or serve them as a light dessert, these Cherry Breakfast Bars are the kind of simple bake that everyone reaches for again and again.
Why You’ll Love These Cherry Breakfast Bars
These breakfast bars combine simple ingredients to create a bakery-style treat that’s both wholesome and indulgent. The oat crumble base and topping add a nutty, buttery flavor that pairs beautifully with the bright sweetness of baked cherries. They’re easy to prepare with minimal prep time and bake into perfectly sliceable bars that hold their shape while remaining soft and tender. Best of all, they’re versatile enough for breakfast, snacks, or even a casual dessert.
Ingredients Overview
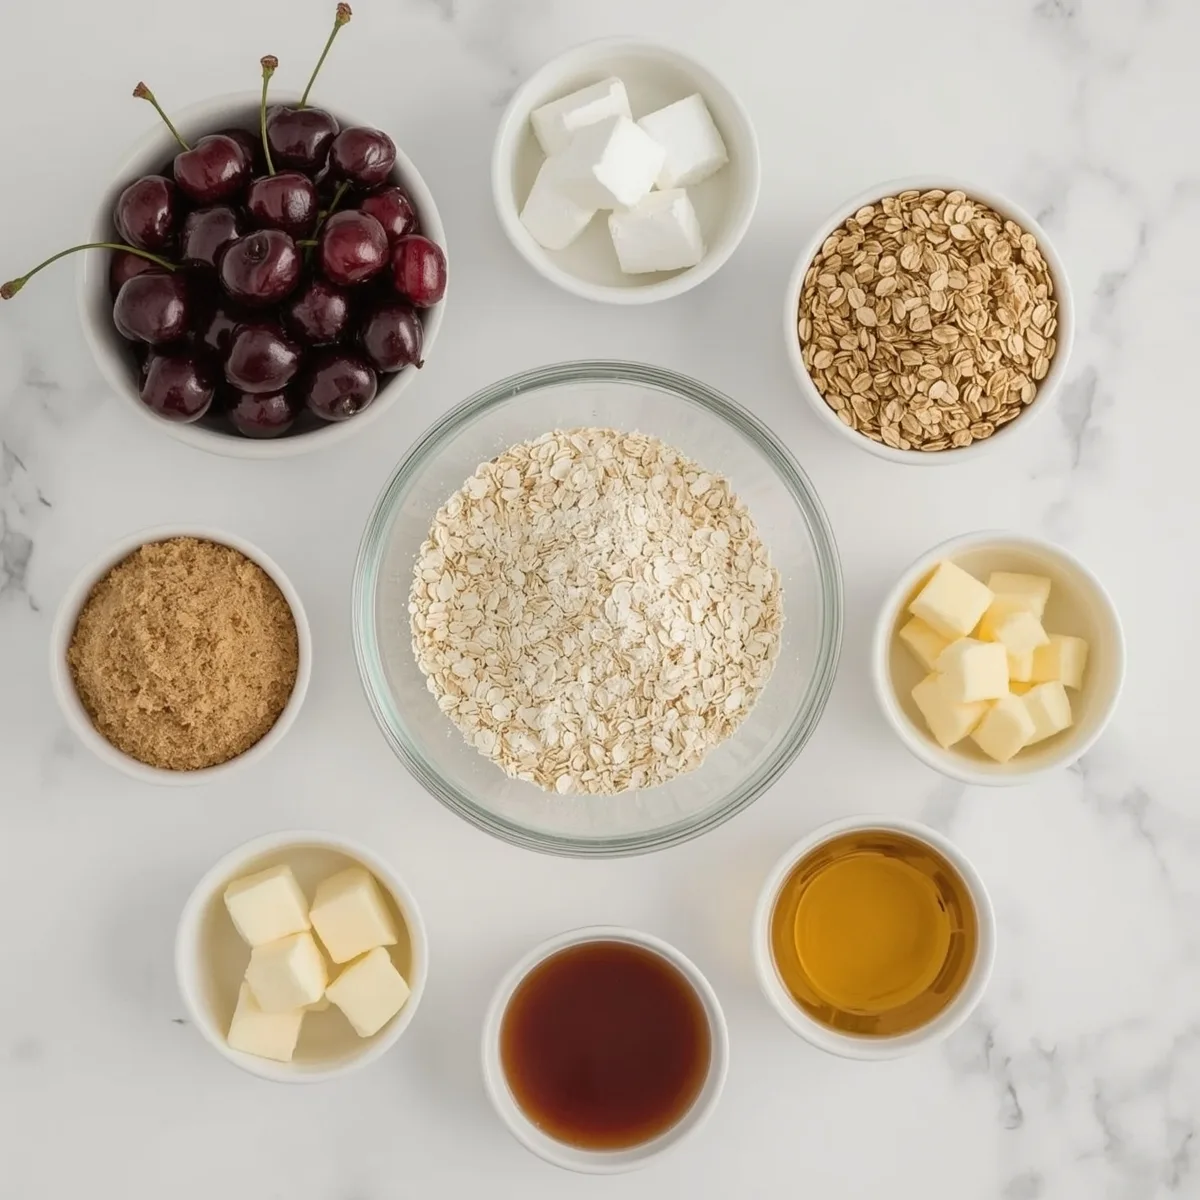
This recipe uses everyday pantry ingredients along with fresh cherries to create a layered bar with incredible flavor and texture. Below is a quick overview of what you’ll need. Exact measurements can be found in the recipe card at the bottom of the page.
For the Oat Crust and Crumble
- Rolled oats for a hearty, nutty base
- All-purpose flour to provide structure
- Brown sugar for sweetness and depth
- Chopped almonds for subtle crunch
- Baking soda and salt to balance the flavors
- Melted coconut oil or butter to bind the mixture
For the Cherry Filling
- Fresh sweet cherries, pitted and chopped
- Lemon juice to brighten the flavor
- Maple syrup or honey for natural sweetness
- Cornstarch to help thicken the filling
For Assembly
- An oat crumble base pressed into the baking dish
- A generous layer of cherry filling
- The remaining crumble sprinkled on top
How to Make Cherry Breakfast Bars
Start by preheating the oven and lining a square baking dish with parchment paper. This ensures the bars release easily once baked and cooled.
In a large bowl, mix the oats, flour, brown sugar, almonds, baking soda, and salt. Pour in the melted coconut oil and stir until the mixture becomes evenly coated and crumbly.
In a separate bowl, prepare the cherry filling by combining the chopped cherries with lemon juice, maple syrup, and cornstarch. Stir gently until everything is evenly mixed.
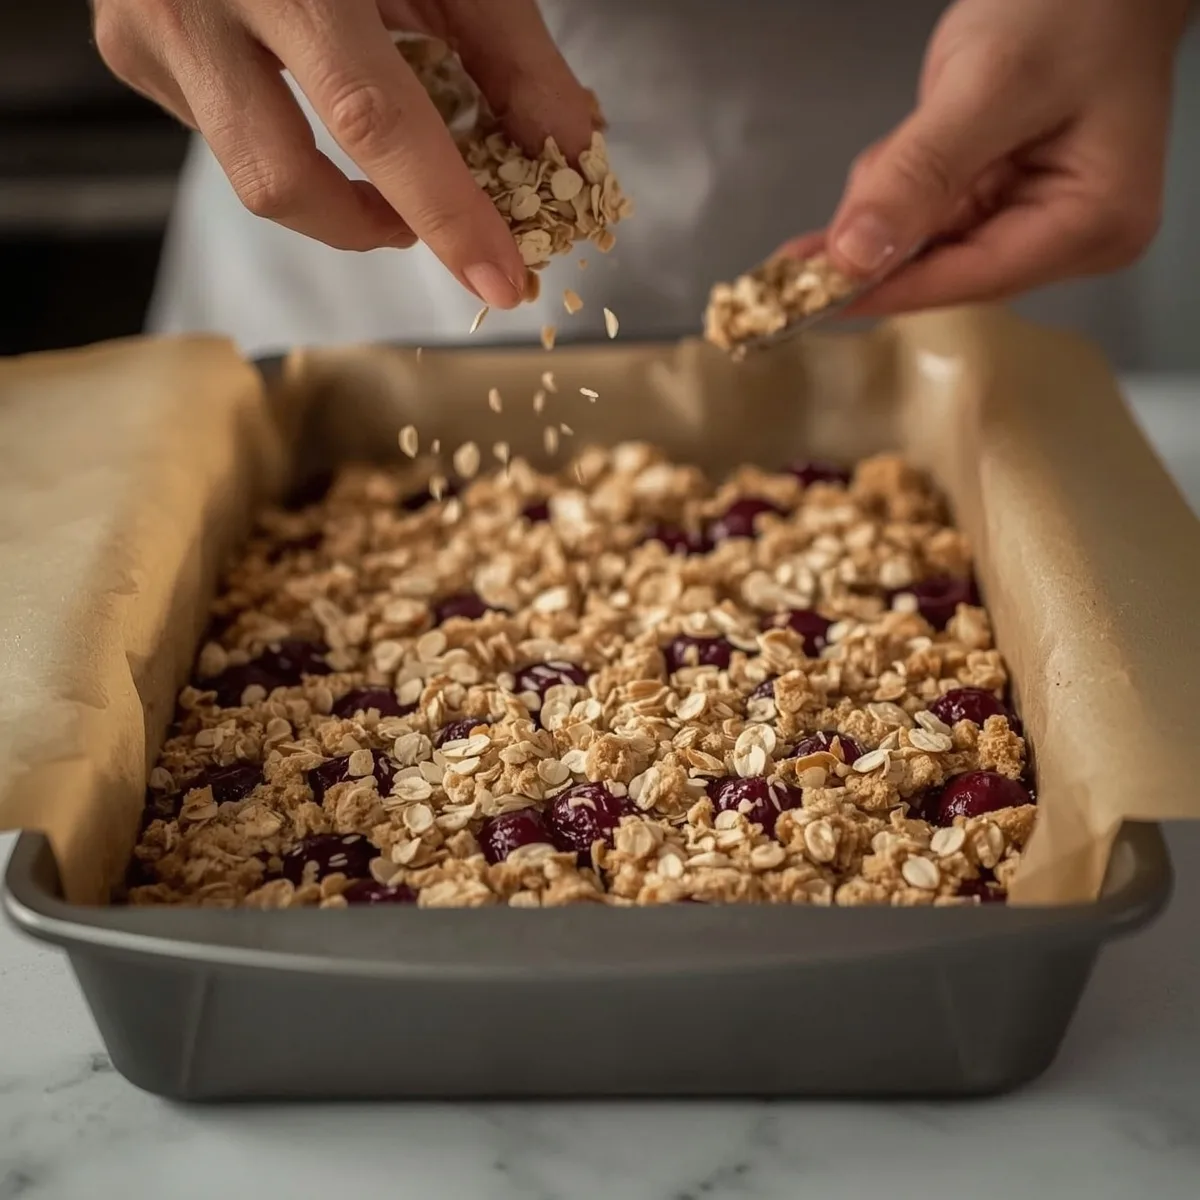
Press most of the oat mixture into the bottom of the baking dish to form the crust. Spread the cherry filling evenly over the base, making sure it reaches the corners.
Sprinkle the remaining crumble mixture over the top and bake until the surface turns golden brown and the cherry filling becomes bubbly. Let the bars cool completely before slicing so they hold their shape.
Tips for Success
Allow the bars to cool completely before slicing to ensure clean, neat pieces. If cut too early, the filling may still be soft. When working with fresh cherries, pitting them beforehand saves time during preparation. If using frozen cherries, thaw and drain them well to prevent excess moisture in the filling. Finally, pressing the crust firmly into the baking dish helps create a sturdy base for the fruit layer.
Variations & Substitutions
- Use frozen cherries when fresh ones are out of season
- Swap almonds for walnuts or pecans
- Replace maple syrup with honey for a slightly different sweetness
- Use gluten-free oats and flour for a gluten-free version
What to Serve With Cherry Breakfast Bars
- Fresh yogurt or Greek yogurt
- Hot coffee or tea
- A fruit smoothie for a complete breakfast
Storage & Make-Ahead
Store the bars in an airtight container in the refrigerator for up to three days. For longer storage, they can be frozen and thawed before serving. If you prefer them warm, simply heat them briefly in the oven or microwave before enjoying.
Frequently Asked Questions
Can I make Cherry Breakfast Bars ahead of time?
Yes, these bars are great for meal prep. You can bake them a day in advance and store them in the refrigerator until ready to serve.
How do I store leftover Cherry Breakfast Bars?
Place the bars in an airtight container in the refrigerator for up to three days to keep them fresh.
Can I freeze Cherry Breakfast Bars?
Yes, the bars freeze well. Wrap them individually and store in a freezer-safe container for up to two months.
Can I substitute ingredients in this recipe?
Absolutely. You can swap maple syrup with honey, almonds with other nuts, or use gluten-free flour and oats if needed.
What’s the best way to reheat Cherry Breakfast Bars?
Warm them briefly in the microwave or oven for a soft, freshly baked texture before serving.
Ingredients
Equipment
Method
- Preheat the oven to 350°F and line an 8-inch baking dish with parchment paper.
- In a large bowl mix rolled oats flour brown sugar almonds baking soda and salt.
- Pour melted coconut oil over the mixture and stir until evenly coated.
- In another bowl combine chopped cherries lemon juice maple syrup and cornstarch.
- Reserve about one cup of the oat mixture for the topping.
- Press the remaining mixture firmly into the bottom of the baking dish.
- Spread the cherry filling evenly over the crust.
- Sprinkle the reserved crumble mixture on top.
- Bake for about 30 minutes until the top is golden brown.
- Let the bars cool completely before slicing and serving.
Notes
If using frozen cherries thaw and drain them well.
Press the crust firmly into the pan for a stable base.
Did You Try This Recipe?
If you make these Cherry Breakfast Bars, I’d love to hear what you think.
Leave a rating, drop a comment below, and don’t forget to save this recipe on Pinterest for later!